A makeup expert strategy of using to different shades of foundation to hide spots, accentuate your features, reshaping bones’ look, make the skin tone lighter, smoother and glowing is what we call the art of applying makeup base and contouring. All you are going to need is one foundation 1-tone lighter than your skin, and one 2 or 3-tones darker than your skin tone, concealer, a sponge, a smaller, and a fuller makeup brush. With this simple stuff, only a blending technique will be combined and you’ll master the art of applying foundation while defining your bones and features without faking your skin far too lighter than it is naturally. An amazing and the right way of applying base is for you, broken down into some steps by us along with the picture describing the techniques well. So what are we waiting for? Let’s get started with this simple makeup base contouring tutorial.
Makeup Base Contouring Tutorial – How to Apply Liquid Foundation with Contouring:
- The first step is just a preparatory step! Gather your tools, grab the two shades you’re going to use (which shades to take, is explained in above paragraph) or grab a foundation palette.
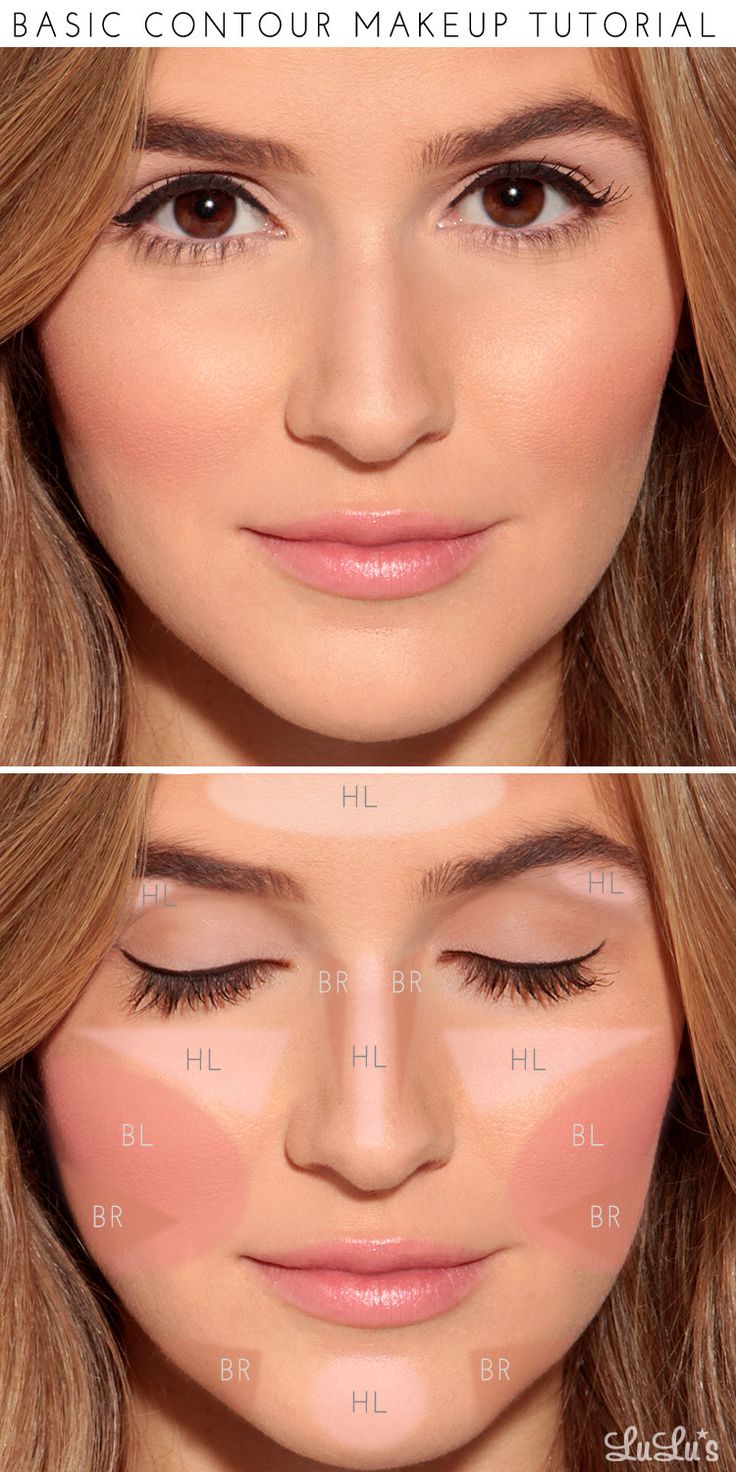
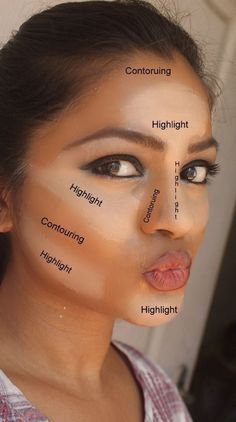
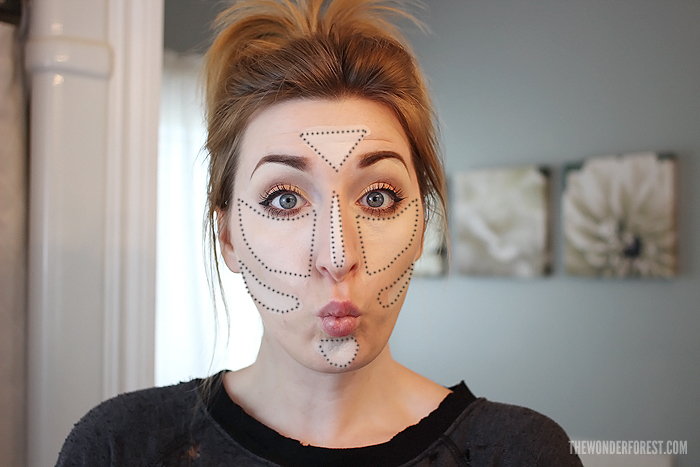
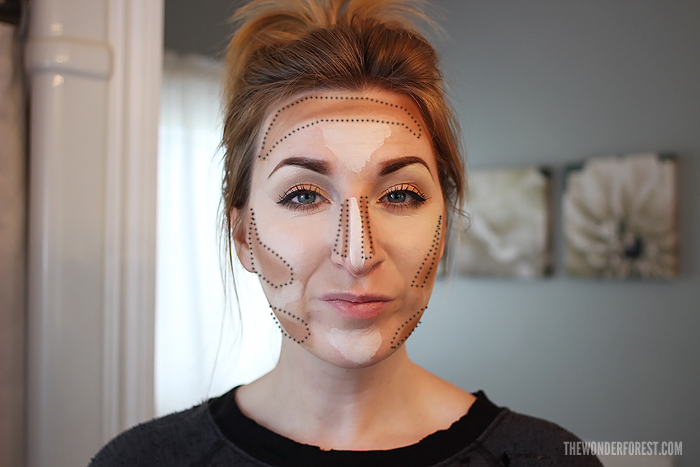
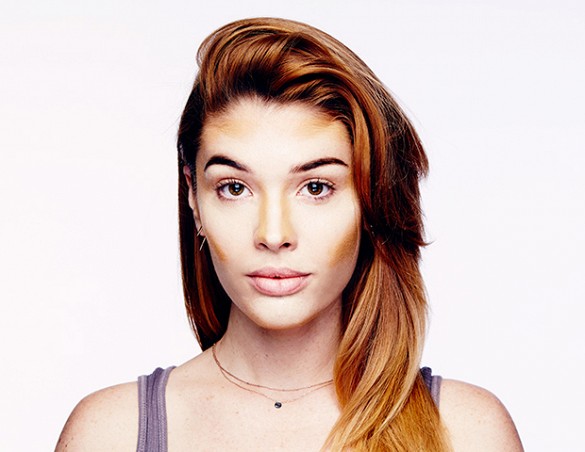
- You must know the basic frame of face i.e. where to contour and where to highlight, well explained through images below. The area of highlighting has the lighter tone applied and the area of contouring has the darker shade applied. Where lighter and where darker one is to be placed can be visualized below in the images.
- Now that you have got a bit idea of the work to do! Let’s start with highlighting; grab your lighter shade of base makeup for highlighting and apply underneath your eyes, upper area of your cheekbone, on your chin, and from over the bridge of your nose toward the forehead making an upside-down triangular shape on your forehead. And blend the edges of all the spots of shade you just made.
- Then it’s time for real fun of blending! Take the second shade, the darker color foundation and apply it in the hollow of your cheekbones, on down the both sides of the nose, underneath your chin, underneath your jawline, near the end point of your browns, and alongside your hairline on the forehead. Just wish nobody looks you before you smudge the shades :p
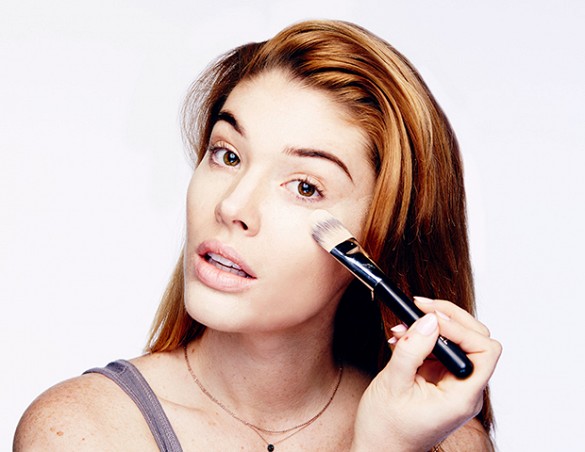
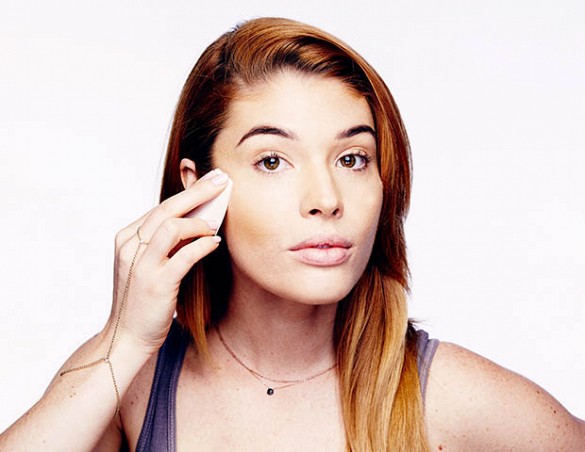
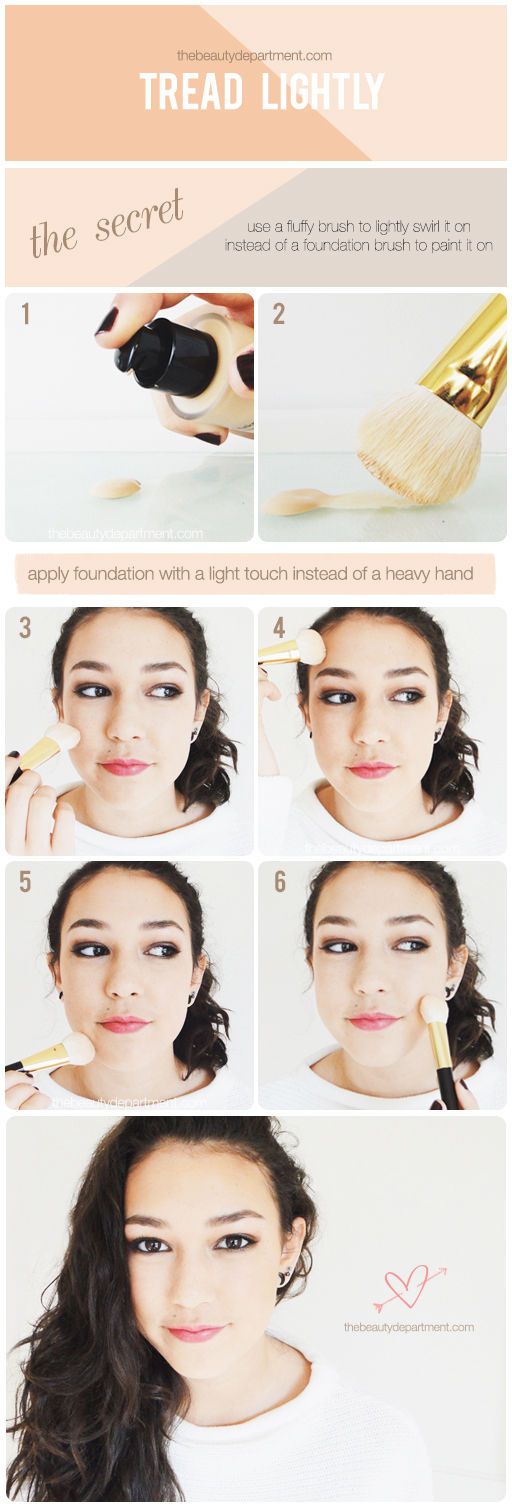
- Here begins the real contouring! As you have both the shades on place, start to blend edges of every division with a sponge and gently soften the shades to make it natural and to contour the edges of light and dark foundation sections making correct highlighted and accentuated affect. Pat on the skin or softly press it with sponge.
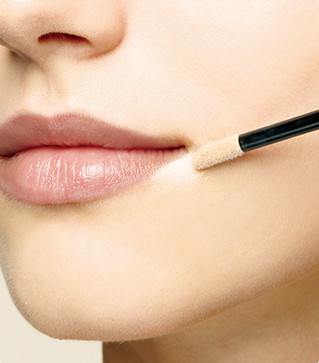
- Still found some darker areas, spots, of birth marks, visible? Like the dark circles spots and edges of lips often need extra focus; with a small brush apply lighter tone foundation of concealer over those points of your face and gently smudge the edges and so. You must match it to the foundation’s tone.
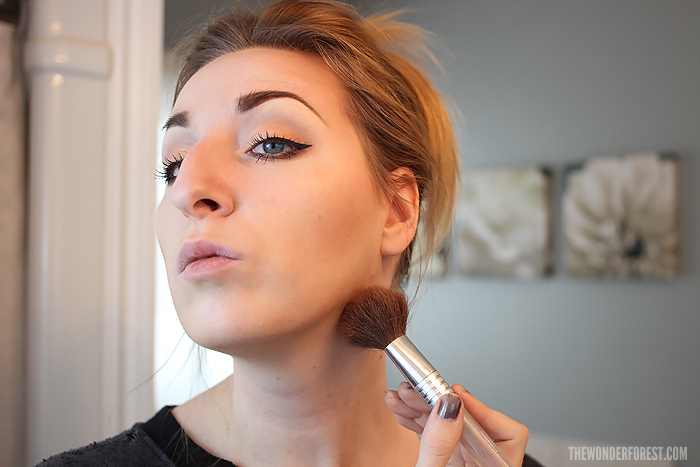
- Well contoured? If not than make it even and natural with more contouring and if done than there is and additional step for all oily skins; apply a thin layer of face powder for the finishing using a brush.
- And now your face is ready for eye shadow blush and lipsticks with an even slimmer and defined look!
Follow this simple and easy makeup base contouring tutorial and get a perfect makeover done. Stay connected with Stylesglamour Makeup Tutorial Gallery for more makeup tutorials and guidelines.
Also see:
How to apply Cat Eyeliner – Tutorial with Pictures
How to Apply liquid eye liner? – step by step tutorial
How to apply Mascara perfectly? tutorial with steps
How to apply Lipstick in a perfect way? – tutorial with Pictures










You must be logged in to post a comment Login